.
.
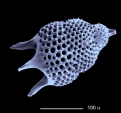
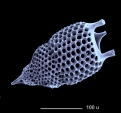
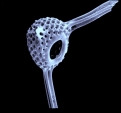
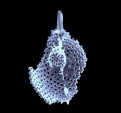
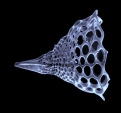
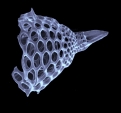
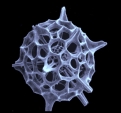
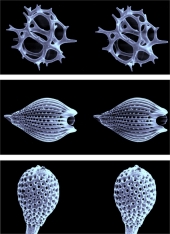
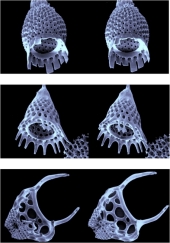
Thyrsocyrtis
Thyrsocyrtis


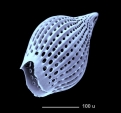
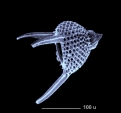
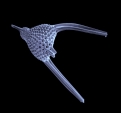
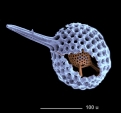
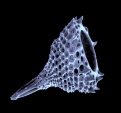
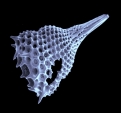
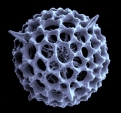
Calocyclas
Calocyclas
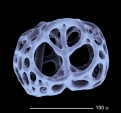
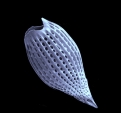
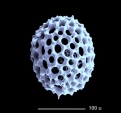
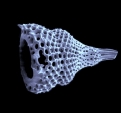
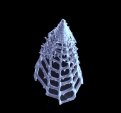
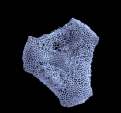
Dictyoprora
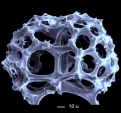
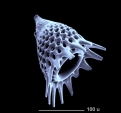
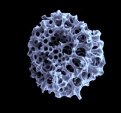
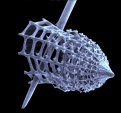
Lychnacomana
.

.
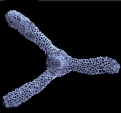
Xiphoshaera ?

.
.
.
.
.
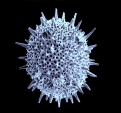
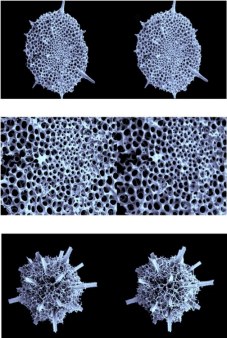
Hexalonche
Hexalonche

.

.

.
.
.
.

.
.


.

.

.
.
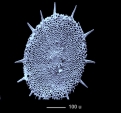
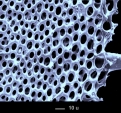
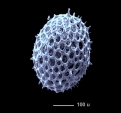
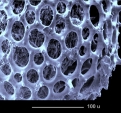
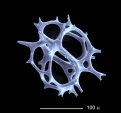
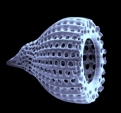
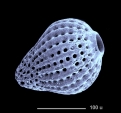
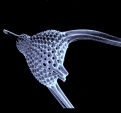
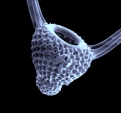
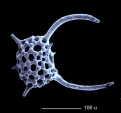
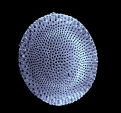
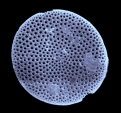
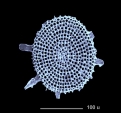
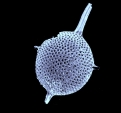
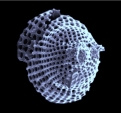
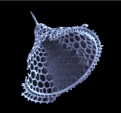
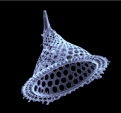
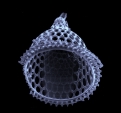
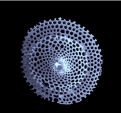
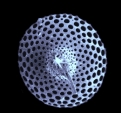
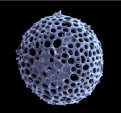
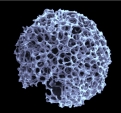
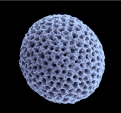
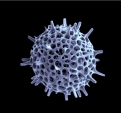
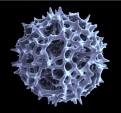
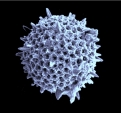
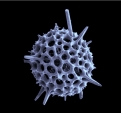
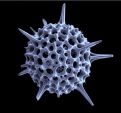
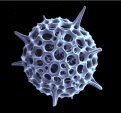
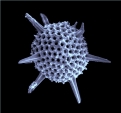
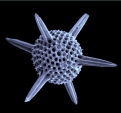
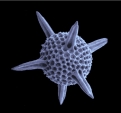
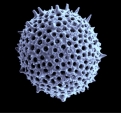
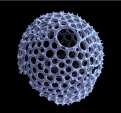
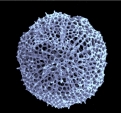
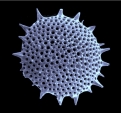
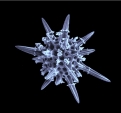
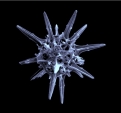
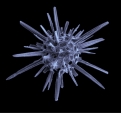
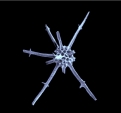
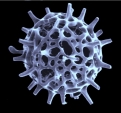
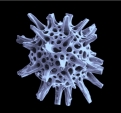
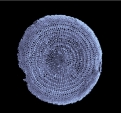
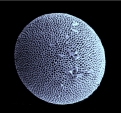
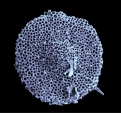
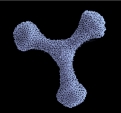
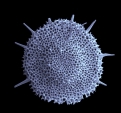
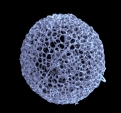
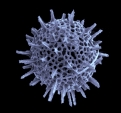
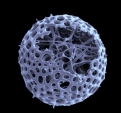
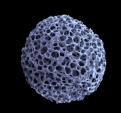
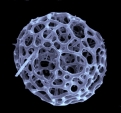
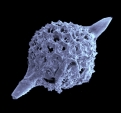
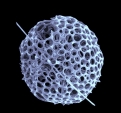
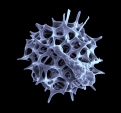
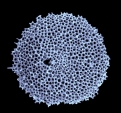
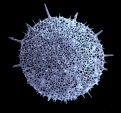
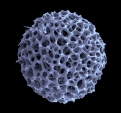
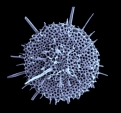
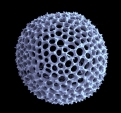
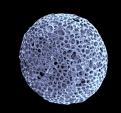
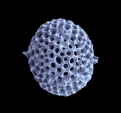
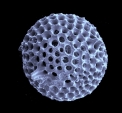
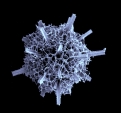
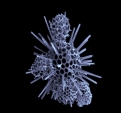
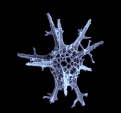
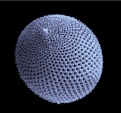
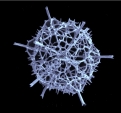
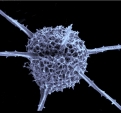
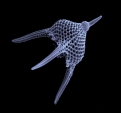
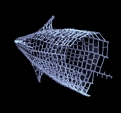
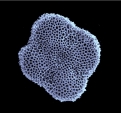
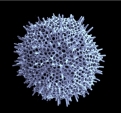
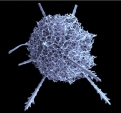
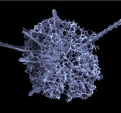
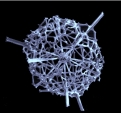
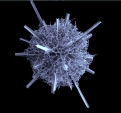
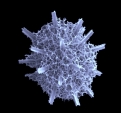
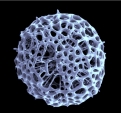
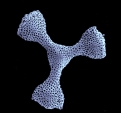
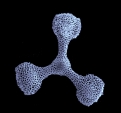
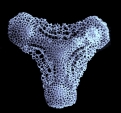
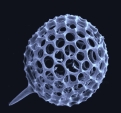
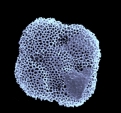
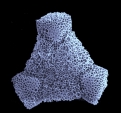
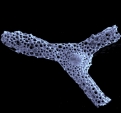
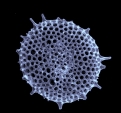
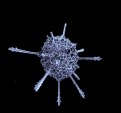
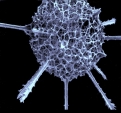
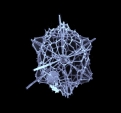
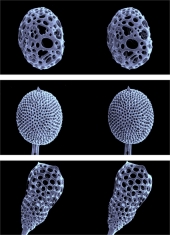
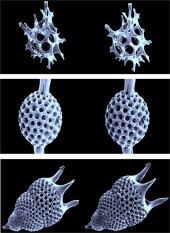
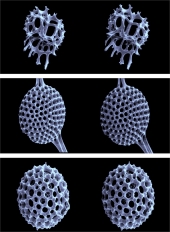
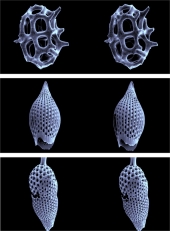
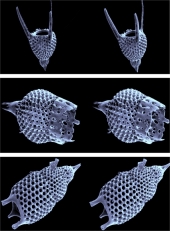
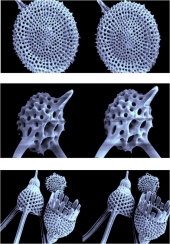
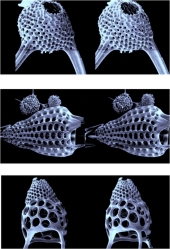
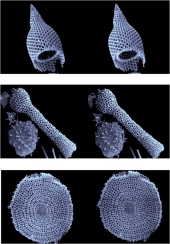
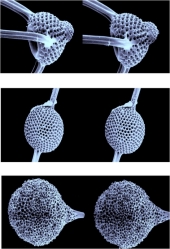
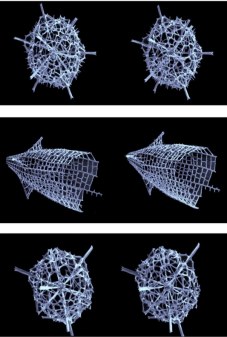
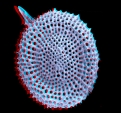
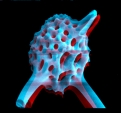
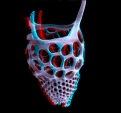
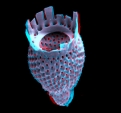
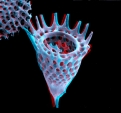
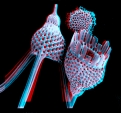
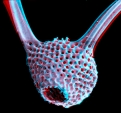
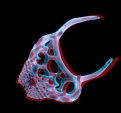
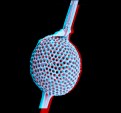
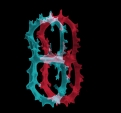
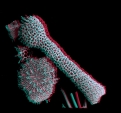
Radiolarians show very impressive skeletons, especially when inspected with the SEM, as shown in the attached photo galery.
01 - 32: Eozän, Barbados
33 - 74 :Recent, Agulhas Basin, 4732 m
75 - 90 : Recent, Mingulay Reef 186m, Scotland
91 - 92 : Burdigalium, Ortenburg
93 - 112 : Recent, South China Sea, 3465 m
113 - 126 : Recent, west of Virgin Islands, 1815 m
Because of the large depth of field
of a SEM is not difficult to produce stereo image pairs . First you adjust the
image electronically using the feature "scan rotation", so that a
mechanical displacement of the object table from left to right results in a
horizontal displacement on the monitor. The object table must be level. Now
the object is tilted by 5 degrees to the left and the first image is taken (left
stereo image), then the object is tilted to the right by the same degree and
is centered again (right stereo image). The results are amazing!
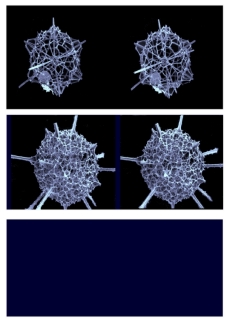
Print
the enlarged pictures, if you want so.
Otherwise click at the images, then
sit in front of the screen
and look at the images with a light squint. Your right eye will see the left
image and your left eye the right one. Within seconds a stereo-image will hover
in front of the screen and your brain will fix your eyes automatically, so you
can now look at the image for a long time without any stress. This method has
two advantages: It works at any distance and independently of the size of the
images; and it avoids the reduction of quality you have using anaglyphs.
 |
 |
 |
| 1 | 2 | 3 |
 |
 |
 |
| 4 | 5 | 6 |
 |
 |
 |
| 7 | 8 | 9 |
 |
 |
 |
| 10 | 11 | 12 |
 |
 |
 |
| 13 | 14 | 15 |
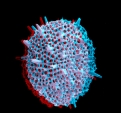
3D-anaglyphs
for red-green glasses, left eye "red"
 |
 |
 |
 |
 |
 |
 |
 |
 |
 |
 |
 |
 |
 |
 |
 |
First both stereo
images (black-and-white) are processed separately and saved (preferably on
a black background). Then the "right image" is loaded and turned
to "red" using the function <Monochrome>, after that the "left
picture" is superposed and turned to intense green in the same way. After
that <Transparency> is to be set to 50%. Now the red picture can be
seen through the transparent green picture and so it is possible to position
the (upper) green picture in such a way that the middle parts of the images
are at exactly at same level. Now take the anaglyph glasses (left eye "red")
and move the green image horizontally until an optimum stereo effect is achieved.
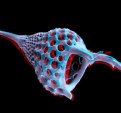
Finally the images are merged (mode <Normal> ), then contrast is enhanced
and the merged image is saved. Anaglyphs can be used even in large format,
but the picture quality is worse than in stereo images viewed with a 3D-viewer.
In case of colored or very finely structured objects this representation is
not suitable as anaglyph .
ItIt
is noteworthy that the 3D-effect is based merely on the object: but is independent
of the displacement of the images, if the displacement is limited. When moving
the green image further to the left, the shape of the object does not change,
but the object appears more and more in front of the screen.
SEM images are very suitable for stereo photography because of their depth of field, but even amateurs can produce very nice stereo images by using a stereo microscope or a common microscope. If a stereo microscope is used you have to work at low magnification and with a tilting object holder (+ - 5 degrees) you must make yourself. In case of a common microscope you get stereo pairs by lateral displacement of the aperture diaphragm. If no corresponding "Abbe illuminating apparatus" is available, a perforated cardboard strip is used fixed in an appropriate manner under the condenser. A clean hole can be made with a core drill.
Copyright: webmaster@mikrohamburg.de